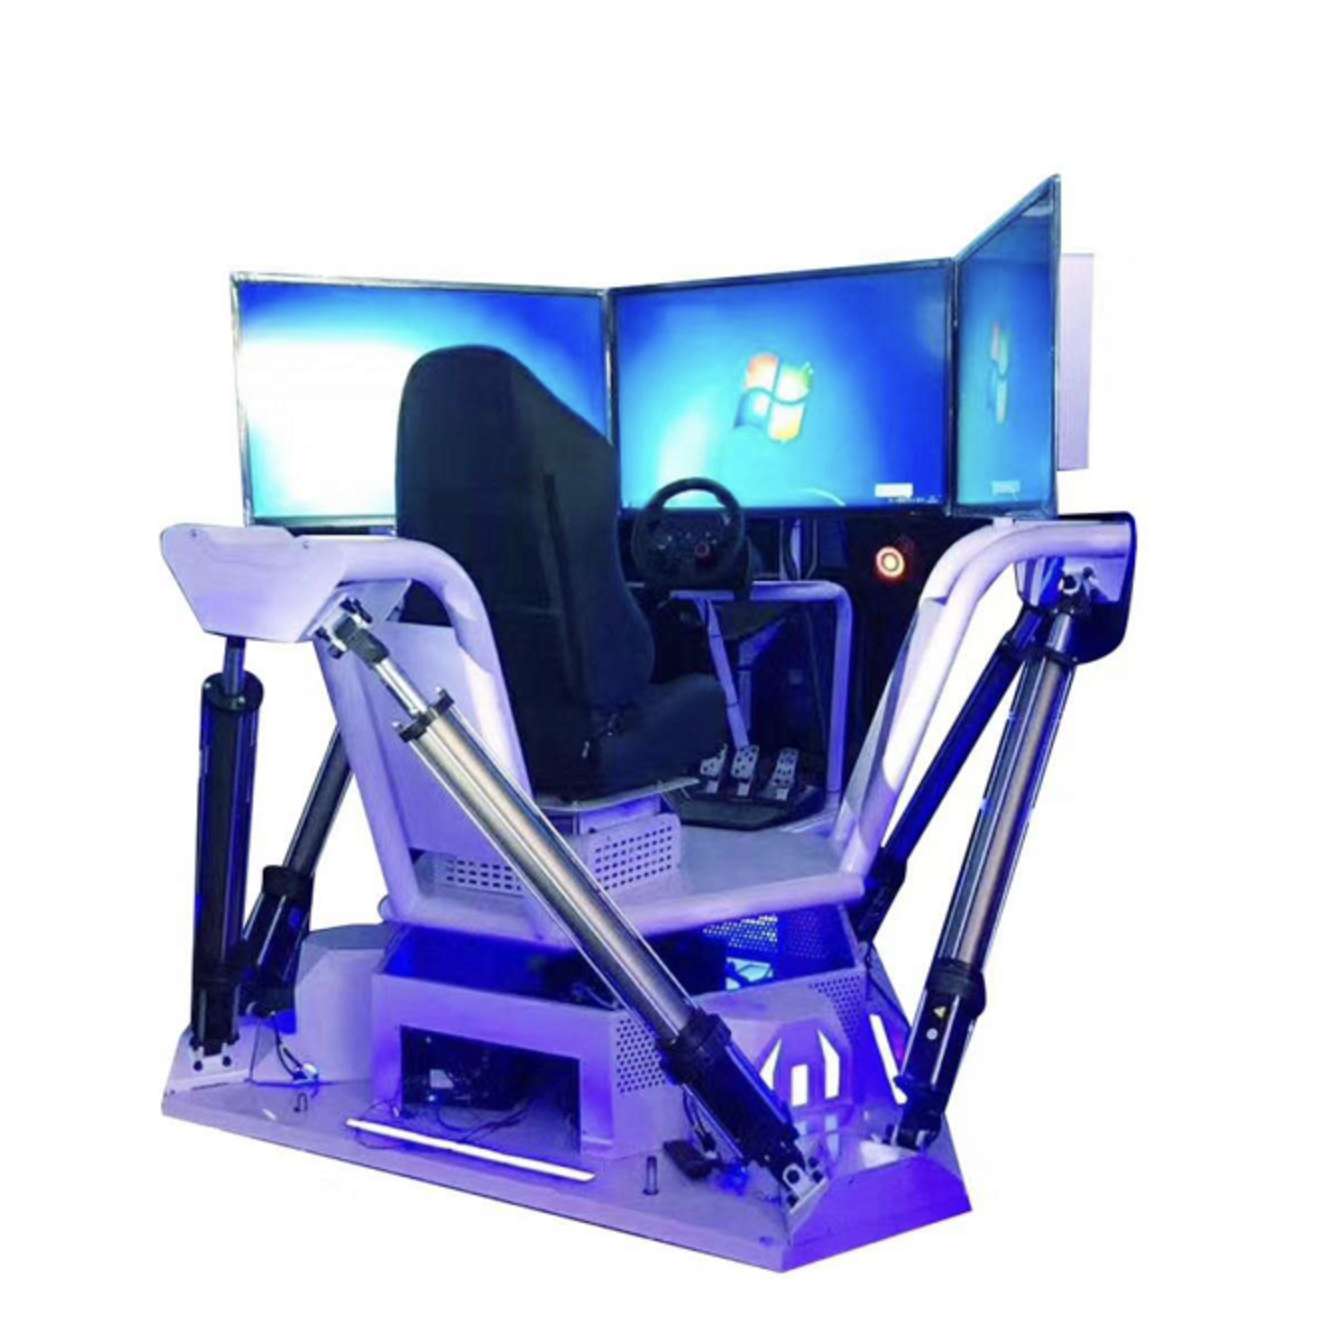
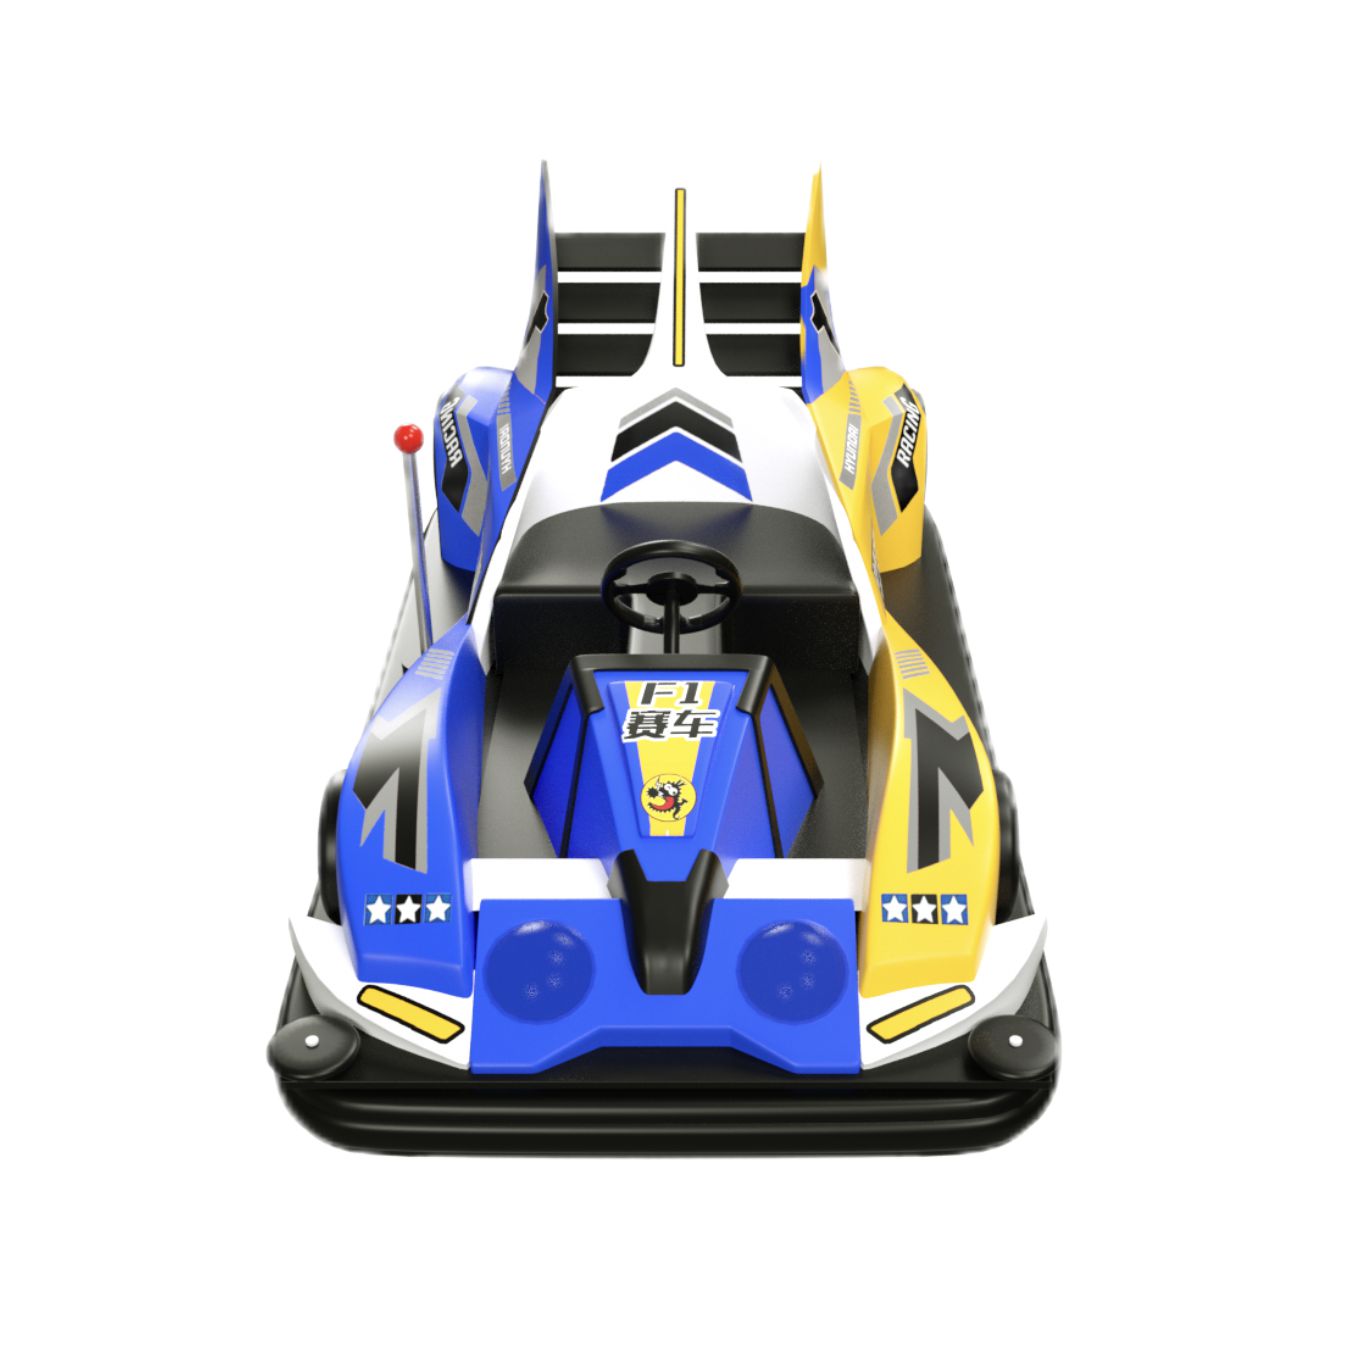
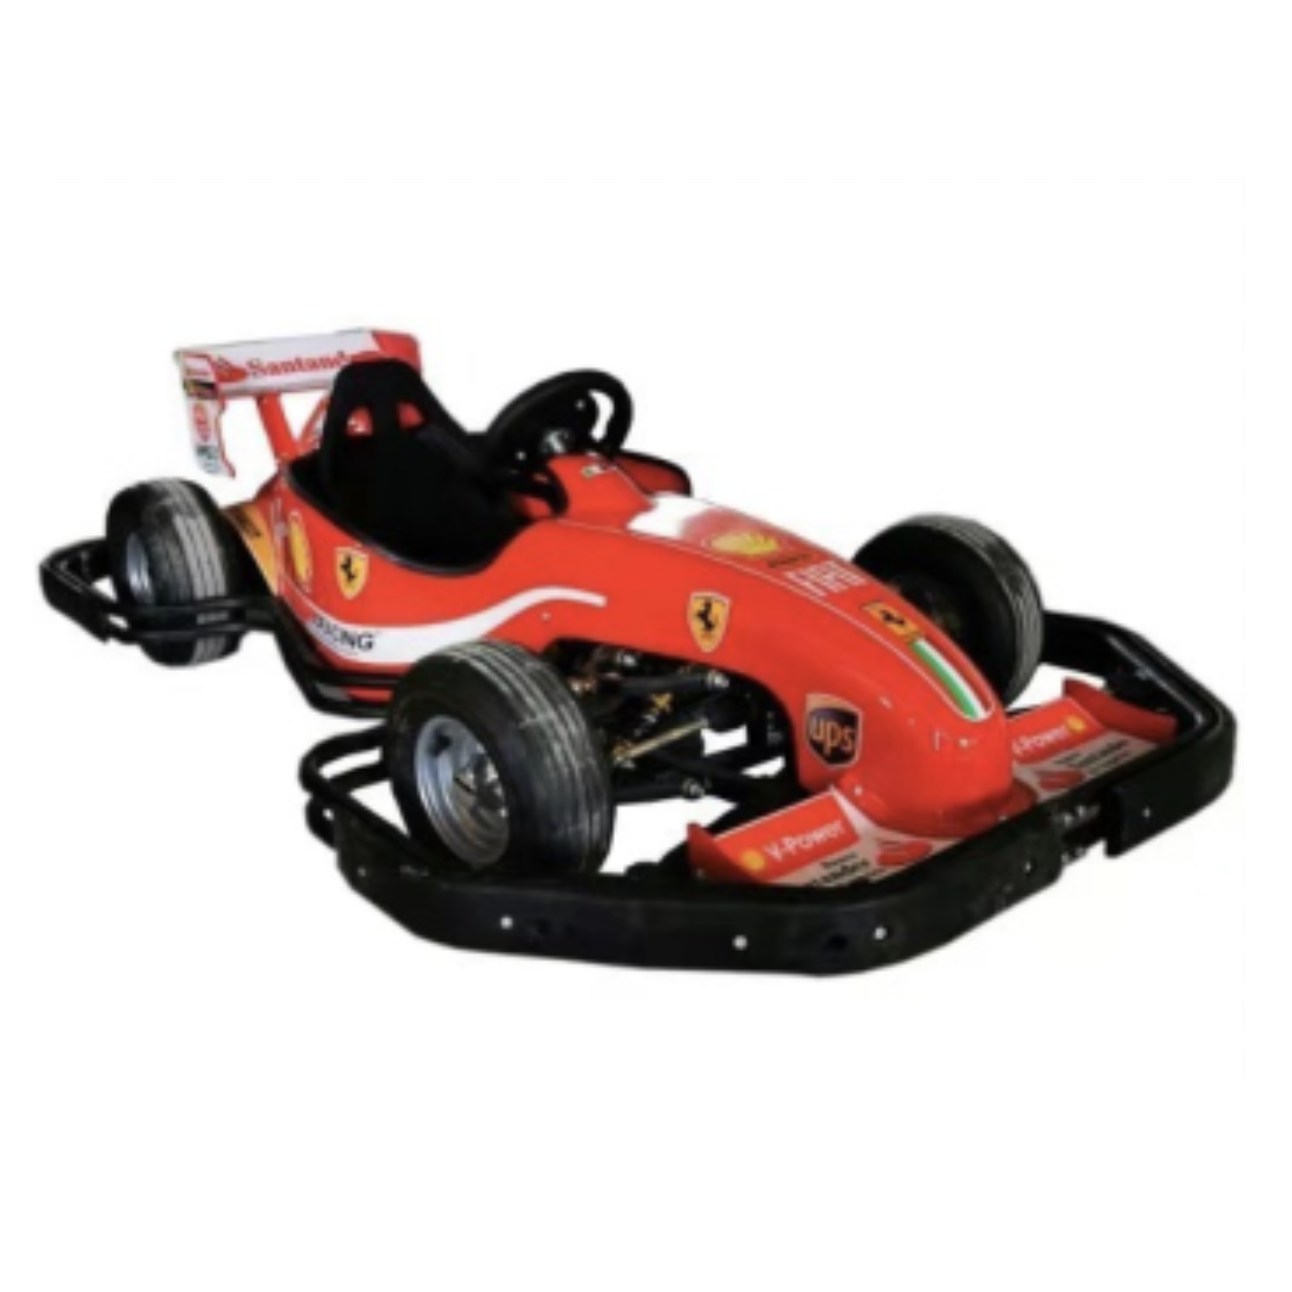
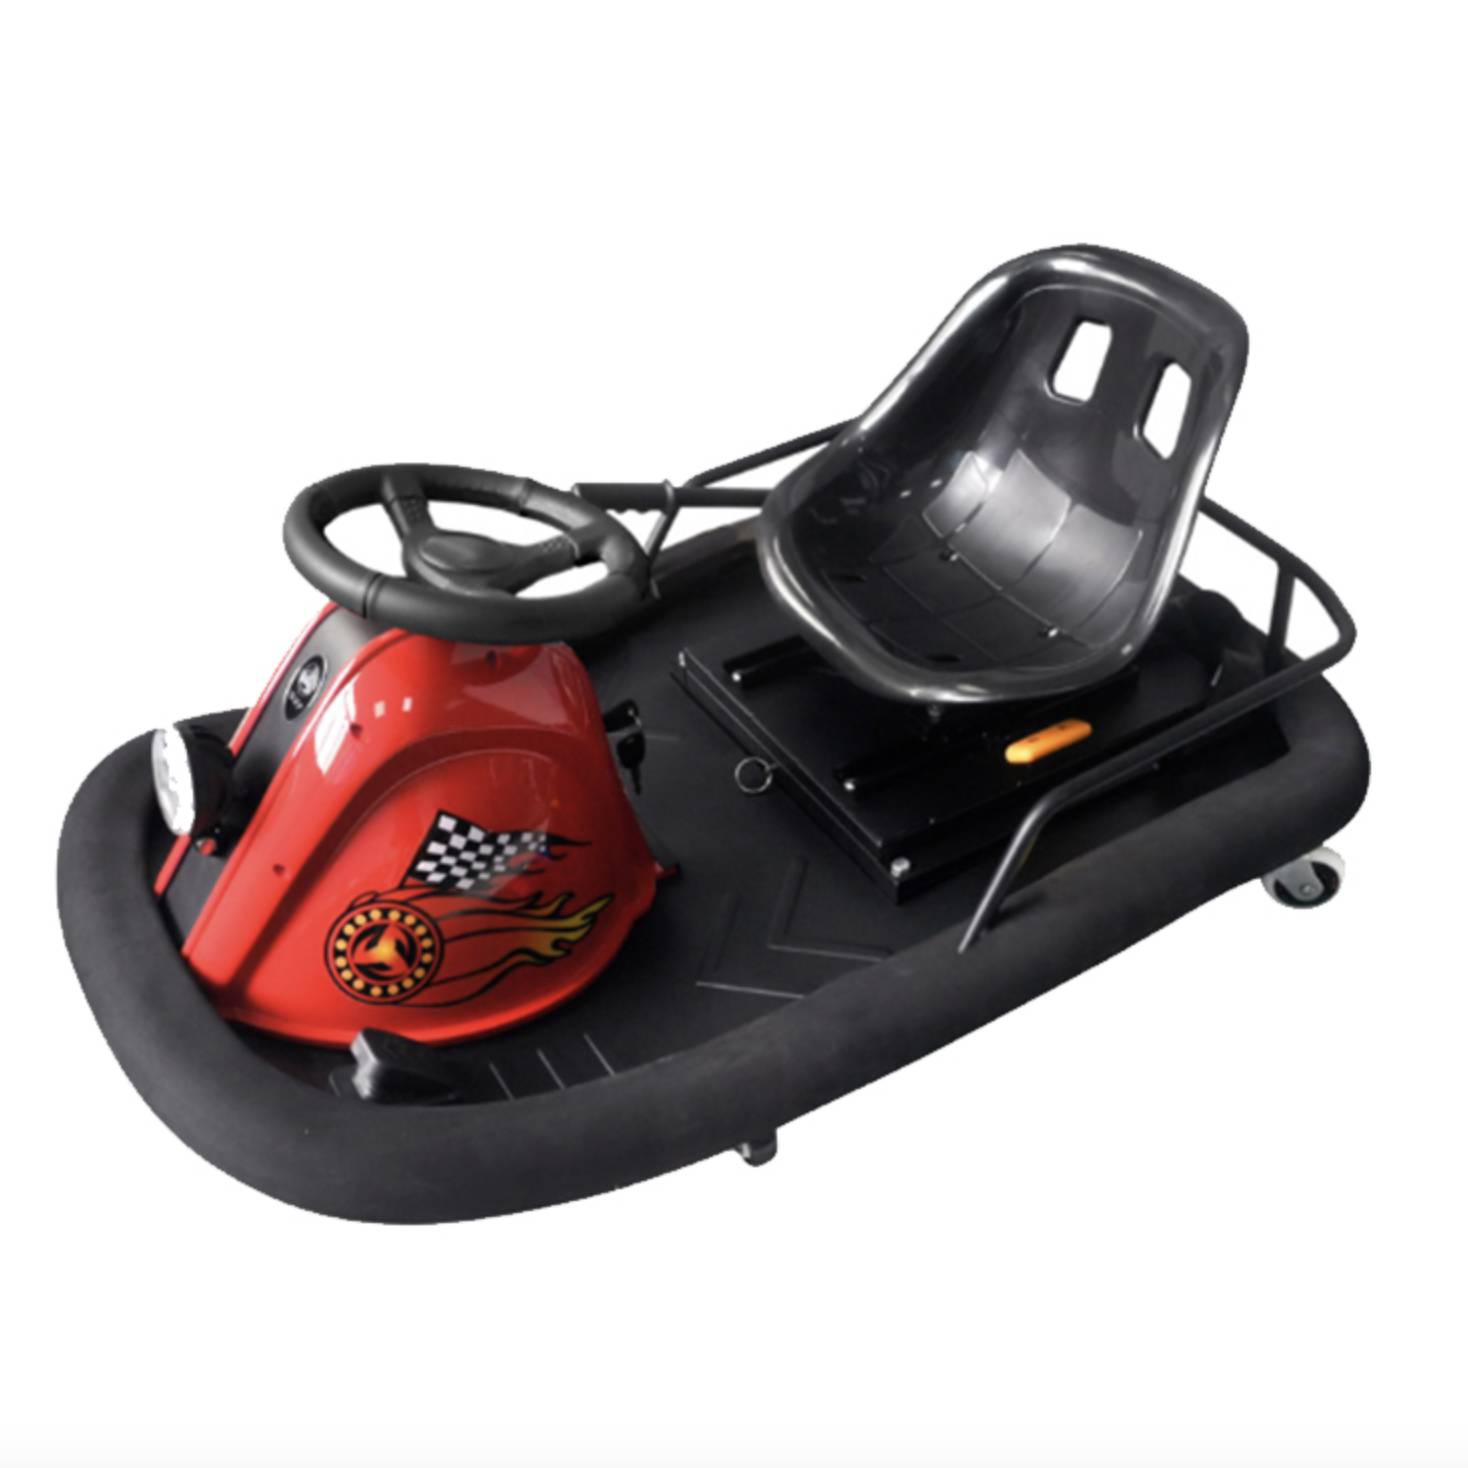
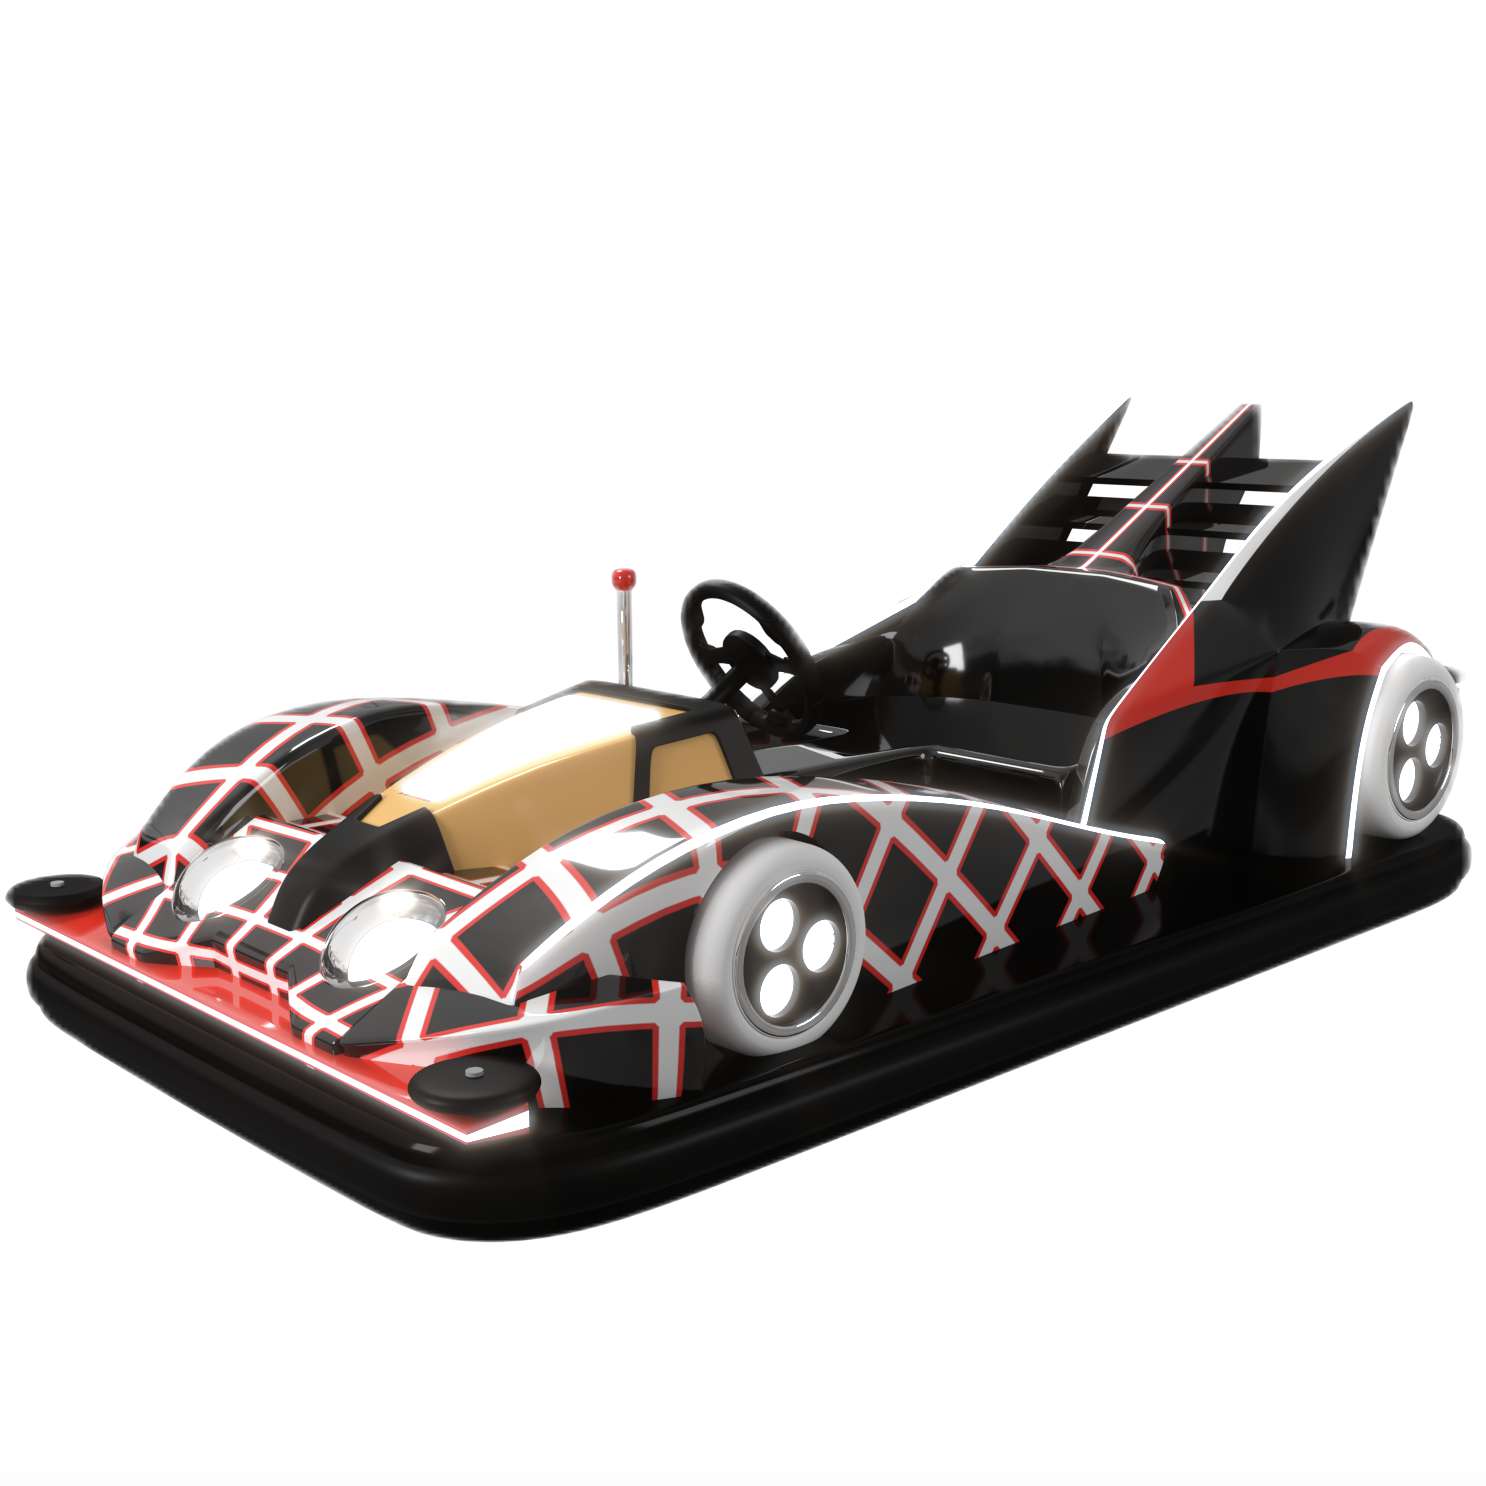
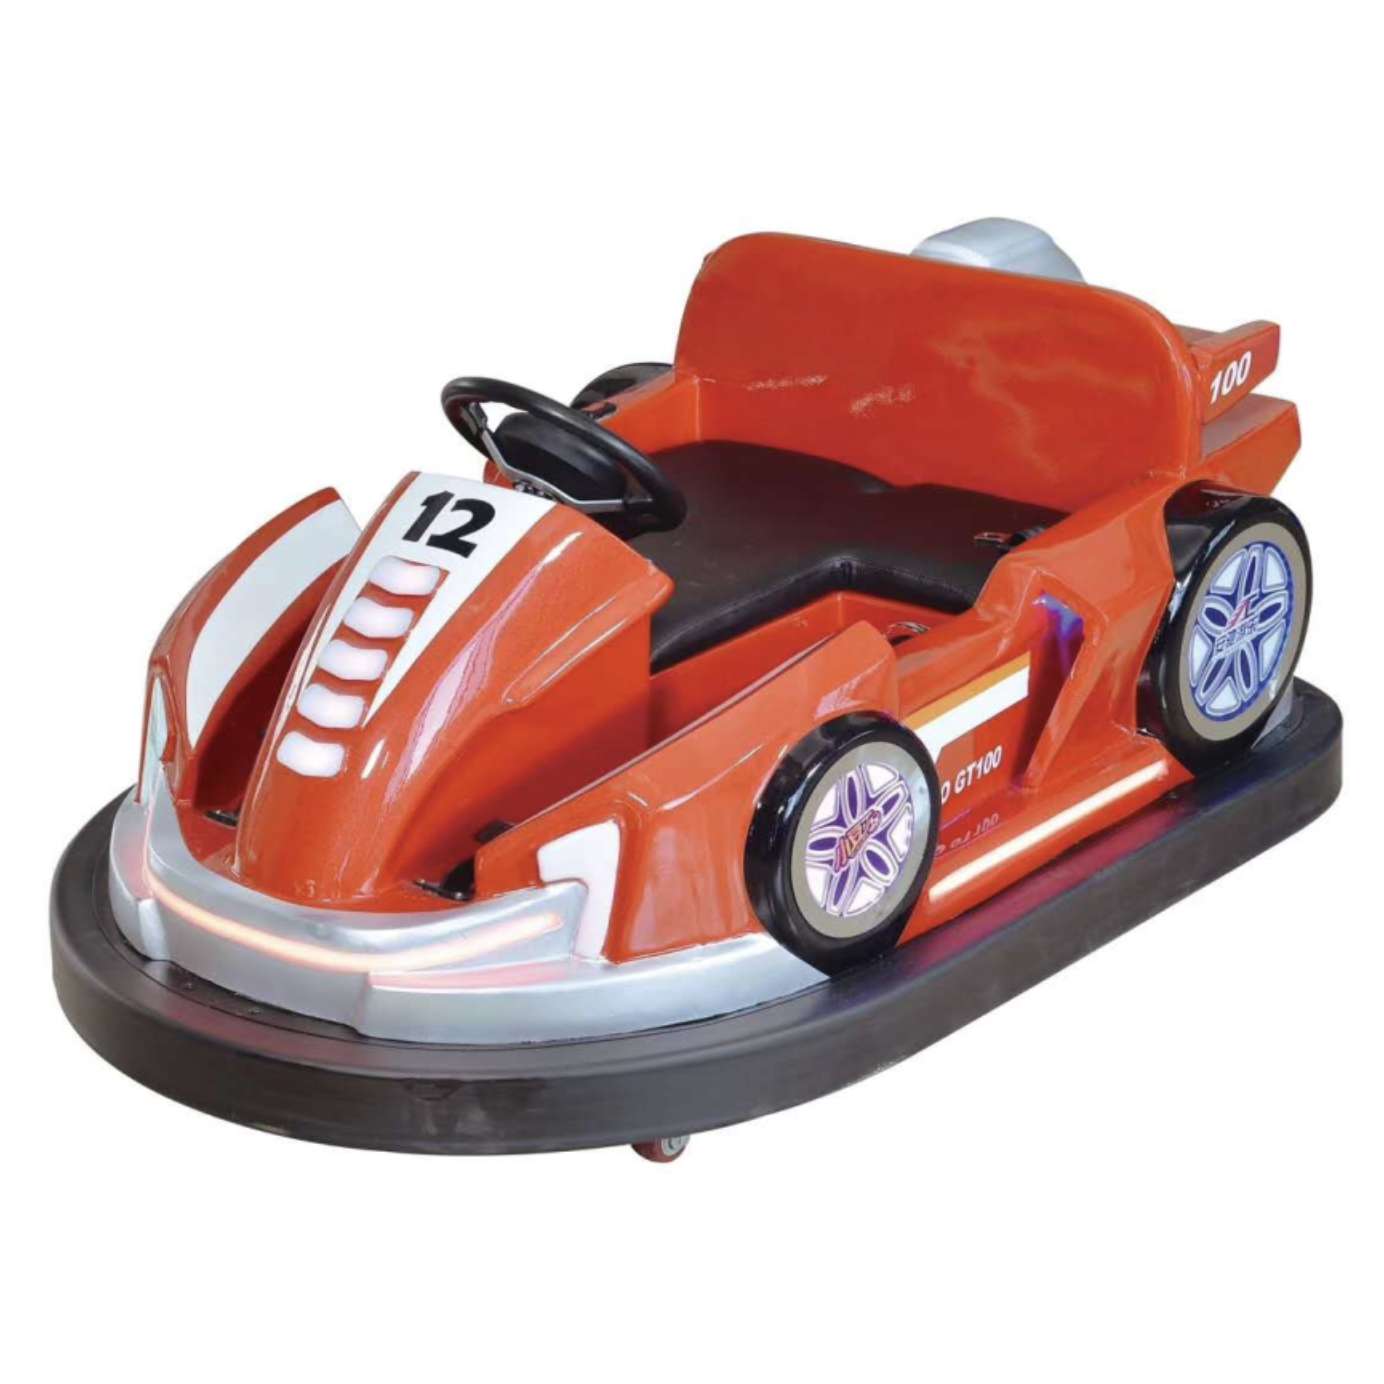
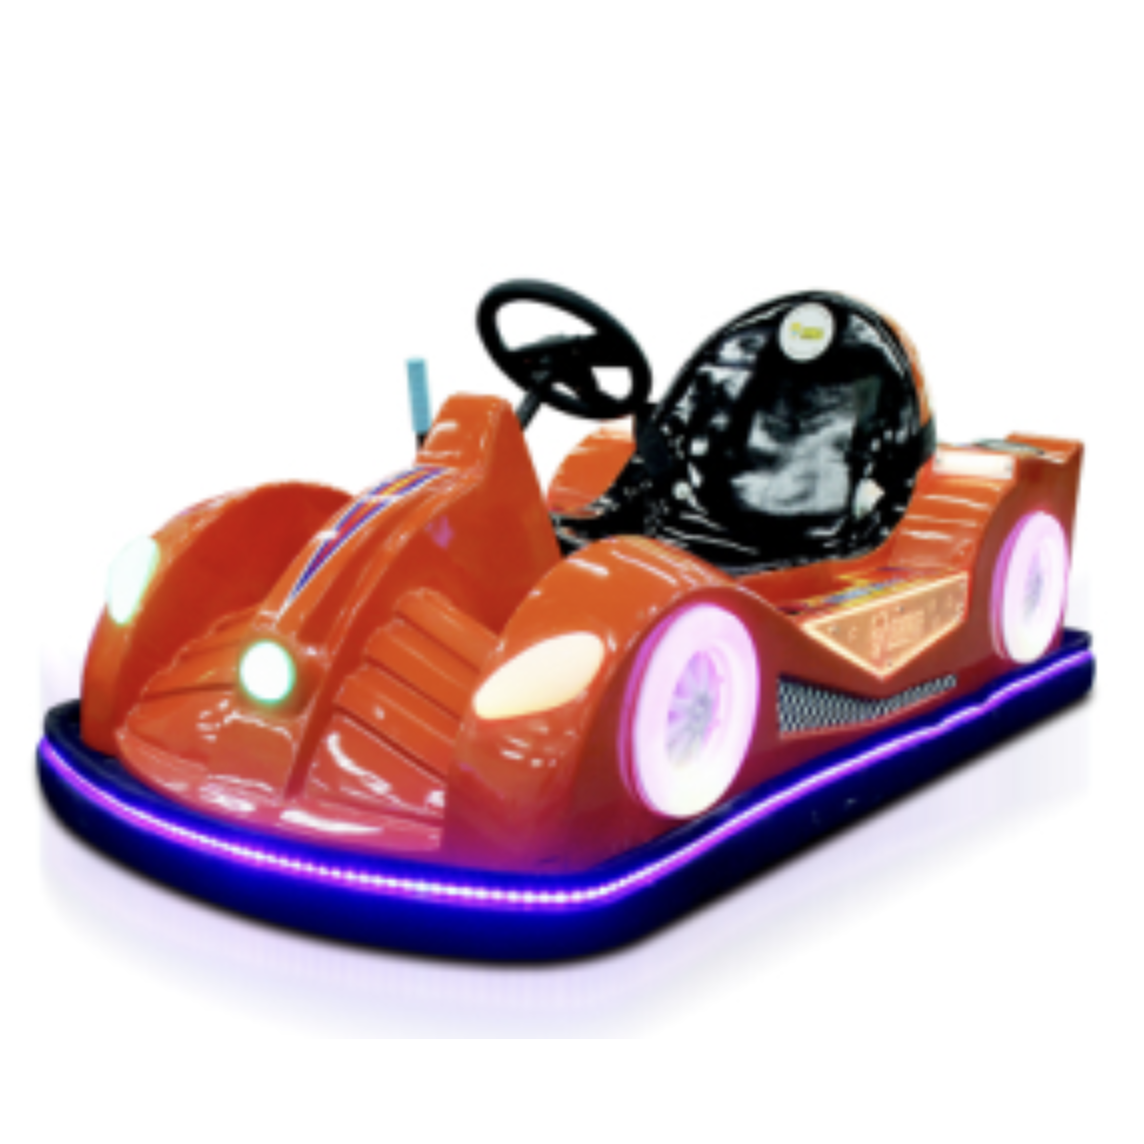
Kids Motor Arcade Racing Games
Product structure
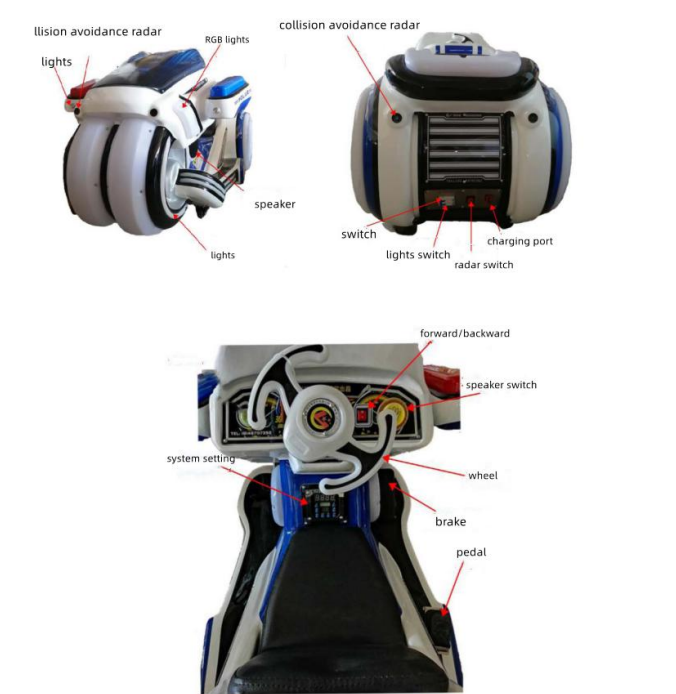
Parameter
- Size:W840*D1600*H750MM
- Weight :95KG
- Loading :200KG
- Battery Capacity:45AH*2
- Battery Voltage:24V
- Motor:350W
- Endurance :6-8H
- Charger :6AH
- Charging Time:6-8H
- Application range:amusement park、Family entertainment center、game center、shopping mall
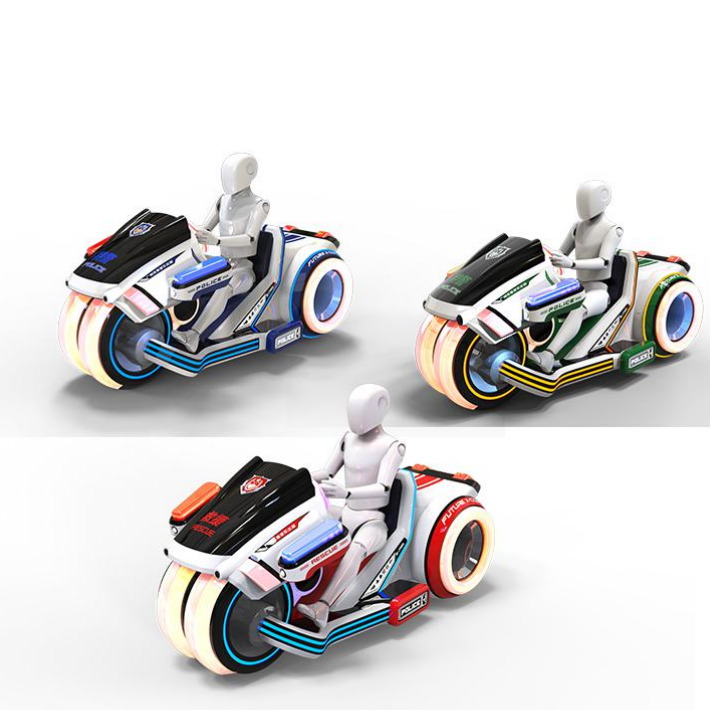
Debugging
1. System Settings
(1) Slow start setting.
It is the setting of the time required for the vehicle to reach the maximum speed.Press the “Speed” and “Volume” buttons on the display panel at the same time forthree seconds, the voice prompts “User Settings”, then press the “Add” button, the voice prompts to enter the system settings, at this time press the “Remote” button, the voice Prompt to enter “slow-up setting”, at this time press the button “plus” or “minus”to perform “0s-10s”. When finished, press the “Speed” and “Volume” buttons at the same time to save the settings.
(2) Starting torque.
It is the setting of the maximum speed of the vehicle.
Press the “Speed” and “Volume” buttons on the display panel at the same time for three seconds, the voice prompts “User Settings”, and then press the “Add” button,the voice prompts to enter the system settings, at this time, press the “Remote” button for two consecutive time, the voice prompts to enter the “starting torque”, at this time, press the “plus” or “minus” button to select “1-15”, “1-5” for low-speed gear, “6-10” for medium-speed gear , “11-15” is a high gear, this setting and the speed setting in the user setting can be used to adjust the speed of the vehicle. When finished, press the “Speed” and “Volume” buttons at the same time to save the settings.
(3) Motor direction setting
Press the “Speed” and “Volume” buttons on the display panel at the same time for three seconds, the voice prompts “User Settings”, and then press the “Add” button,the voice prompts to enter the system settings, at this time, press the “Remote” button three times continuously , the voice prompts to enter the “direction setting”, at this time, press the button “plus” or “minus” to adjust the direction. When finished, press the “Speed” and “Volume” buttons at the same time to save the settings. Special note:00–reverse rotation of the motor 01–forward rotation of the motor
(4) Brake settings
Press the “Speed” and “Volume” buttons on the display panel at the same time for three seconds, the voice prompts “User Settings”, then press the “Add” button, the voice prompts to enter the system settings, at this time, press the “Remote” button four times continuously time, the voice prompts to enter “brake setting”, at this time press the button “plus” or “minus” to modify, among which “00” means: press the brake, stop the power output, “01” means: press the brake, carry out the electronic Brake, “02” means: step on the brake or release the accelerator: both apply electronic braking, “03” means: step on the brake or release the accelerator: both apply the electronic brake, and the brake line is reused as a low-speed line, after completion Press the “Speed” and “Volume” buttons at the same time to save the settings.
(5) Braking torque L
Press the “speed” and “volume” buttons on the display panel at the same time for three seconds, the voice prompts “user settings”, then press the “plus” button, the voice prompts to enter the system settings, at this time, press the “remote control” button five times continuously Next, the voice prompts to enter “braking torque”, at this time press the button “plus” or “minus” to modify, “01” is short-circuit braking,”02-10″ is: reverse braking. After the setting is completed, press the “Speed” and”Volume” buttons at the same time to save the setting. Special Note: When using geared motor, only “01” mode can be used
(6) Radar distance.
The distance at which the radar works Press the “Speed” and “Volume” buttons on the display panel at the same time for three seconds, the voice prompts “User Settings”, then press the “Add” button, the voice prompts to enter the system settings, at this time, press the “Remote” button six times continuously Next, the voice prompt enters “Radar Distance”, at this time press the button “Plus” or “Minus” to modify, you can choose “04-20”, after the setting is completed, press the “Speed” and “Volume” buttons at the same time to save set up. Special reminder: “04” is: turn off the radar.
(7) Sound effect settings
Press the “Speed” and “Volume” buttons on the display panel at the same time for three seconds, the voice prompts “User Settings”, and then press the “Add” button,the voice prompts to enter the system settings, at this time, press the “Remote” buttonseven consecutively Next, the voice prompts to enter the “sound effect setting”, at this time press the button “plus” or “minus” to modify, where “00” means: turn off the square voice and throttle sound, “01” means: turn on the square voice and throttle sound, “02” is: turn on the throttle sound and turn off the square voice. After the setting is completed, press the “speed” and “volume” buttons at the same time to save the setting.
2 .User Settings
(1) Vehicle number setting
Press the “speed” and “volume” buttons on the display panel at the same time for three seconds, the voice prompts “user settings”, press the “remote control” button,the voice prompts to enter the “vehicle number setting”, at this time press the button”plus” Or “minus” key, you can choose “0-21” to adjust, and then press the “speed”and “volume” keys at the same time to save the settings. The special prompt “21” is to turn off the “remote control” setting.
(2) Time setting
Press and hold the “Time” button on the display panel for two seconds, and the upper display starts to flash. At this time, press the “Plus” or “Minus” button to choose between “1-99” minutes to adjust, and press it again after completion. “Time” key, save the setting, the time will be displayed on the big screen.
(3) Speed setting
Press and hold the “Speed” button on the display panel for two seconds, and the display at the bottom will start to flash. At this time, press the “Plus” or “Minus” button to select “1-20” for adjustment, and the speed will increase from large to small. Then press the “Speed” key again to save the setting.
(4) Volume setting
After long pressing the “Volume” button on the display panel for two seconds, the lower display starts to flash. At this time, press the “Plus” or “Minus” button to choose between “1-32″ for adjustment. Volume” key to save the settings.
(5) Accumulation setting
Press the “Speed” and “Volume” buttons on the display panel at the same time for three seconds, the voice prompts “User Settings”, press the “Remote Button” on the display panel 6 times continuously, and the voice prompts enter the “Accumulation setting”, at this time Press the button “plus” or “minus” to select “0” to turn off the accumulation or “1” to turn on the accumulation. After the accumulation is turned on,you can choose to use the remote control to increase the number of games in each round. After finishing, press the “Speed” and “Volume” buttons at the same time to save the settings. Special reminder: If you turn on the accumulation, you cannot use the remote control to end the game.
(6) Return setting
Press the “speed” and “volume” buttons on the display panel at the same time for three seconds, the voice prompts “user settings”, press the “remote control button” on the display panel 7 times continuously, the voice prompts to enter the “return setting”, at this time Press the button “plus” or “minus” to select the setting within “10s-60s”. After the setting is completed, press the “speed” and “volume” buttons at the same time to save the setting.
Check list and operation instructions before use
1 .Check items before use
(1) Check whether all lights on the body are normal.
(2) Whether the steering wheel is flexible and effective, if it is found to be loose, it should be adjusted in time.
(3) Check whether the screws and nuts of the whole vehicle are loose, so as to avoid driving failures and accidents caused by looseness and falling off.
(4) If you find any faults after inspection, please contact the after-sales department of our company in time.
2 .Operating Instructions
(1) Turn on the main power switch, then swipe the card and remote control to start,lightly step on the accelerator to start the machine; adjust the forward/reverse gear to the reverse position to achieve reverse.
(2) When the car stops, press the main power switch to cut off the power.
Daily maintenance and precautions
(1) The equipment should be placed on a flat paved ground to reduce unnecessary losses and service life due to uneven ground, such as tiled floors, flat and smooth cement floors, etc.
(2) During the driving process, a certain speed and balance should be maintained,driving safely, and overload operation should be avoided.
(3) After use, it should be parked in a fixed area so as not to hinder the normal operation of other machines.
(4) During the driving process of the vehicle, if an emergency occurs, take appropriate measures to deal with it, or turn off the power immediately to check the cause.
(5) Drivers and converters are all composed of electronic components, which should not be disassembled without permission to repair them so as to avoid malfunction of machine control and accidents.
(6)If the whole vehicle is exposed to rain, immediately turn off the main power supply and wait for it to dry before use.
(7) The auxiliary axle of the rear wheel rotating parts and other bearing parts of the body should be checked and adjusted frequently, whether the fixing screws of the bearing parts are firm, etc., and lubricating oil should be added in time to make them rotate flexibly.
(8) The whole vehicle should be kept clean frequently. The electroplating of the hardware surface and the paint parts of the shell should be wiped clean with a soft cloth frequently to keep the whole vehicle clean and hygienic.
(9) It should be avoided in places with humid air, high temperature and corrosive gas, so as not to corrode metal parts and cause operation failure.
Battery charging method and precautions
1 .Battery charging method
Plug the output end of the charger into the external charging socket, and plug the input end into the household 220v power socket. Charging time When the input and output terminals of the charger are connected, the red indicator light of the charger will light up, indicating that the power supply has been connected. After 6 to 12 hours of charging, the green indicator light of the charger will light up, indicating that the battery is almost fully charged and can be charged for another 1 hour.
2 .Precautions
(1) Please turn off the main power supply, and ensure that the machine is parked in a cool and ventilated place (except for cool and humid places).
(2) When the machine is out of power, it should be charged in time to avoid excessive discharge of the battery and shorten the battery storage capacity and service life. If the machine is out of use due to special circumstances, the battery should be charged every 0.5-1 month to ensure the battery power, so as not to cause the battery to be too low and unusable.

